Photoshop Layer Comps: Review Product Campaign Versions in One PSD
Updated November 7, 2026
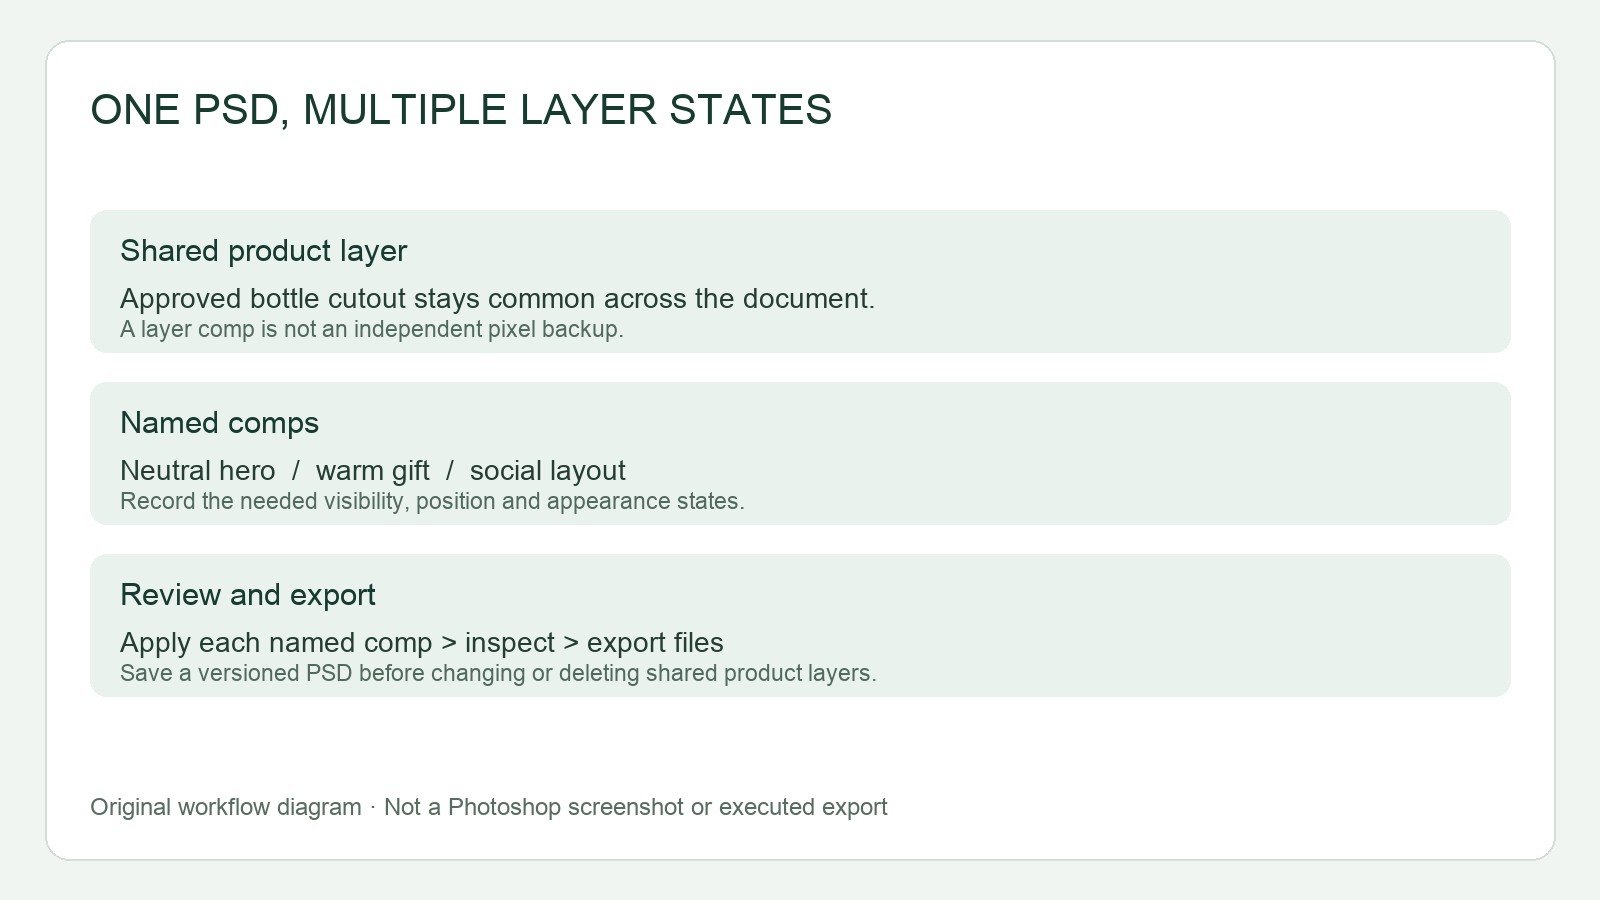
Use Layer Comps to author and review three campaign states inside one layered PSD: Neutral hero, Warm gift, and Social layout. Each comp can record selected properties: visibility, position, appearance, and Smart Object layer comp selection. Keep the approved product cutout in a separate, locked product master while the backgrounds and text layouts vary. Before product retouching, preserve a clearly versioned copy of the PSD: layer comps are states of one document, not independent full-pixel backups.
What Layer Comps Do Here
A layer comp provides a named state that can be selected and applied during review. It is useful when the product cutout stays consistent but the background, text arrangement, and overall composition change between campaign versions.
This is different from a contact sheet, which indexes image files that already exist. Layer comps let the creator author states within one layered PSD and then export those states as separate files. They do not preserve a separate copy of every pixel, so they cannot be relied on to recover a deleted product cutout.
Separate the Product Master From the Variants
Organize the document so the approved product cutout lives in a dedicated product master layer or group. Keep it protected while arranging each variant. Place the changing background and text in separate layers or groups so their visibility, position, and appearance can be recorded without duplicating the product artwork.
| Campaign state | Shared element | Intentional variation | Comp name |
|---|---|---|---|
| Neutral hero | Approved product master | Neutral background and text arrangement | Neutral hero |
| Warm gift | Approved product master | Warm background and text arrangement | Warm gift |
| Social layout | Approved product master | Social background and text arrangement | Social layout |
Capture the Three Layer Comps
- Open the layered PSD and arrange the visible layers for the first campaign state.
- Open Window > Layer Comps.
- Choose Create New Layer Comp.
- Enter the exact name, such as Neutral hero. Use the comment field to identify the intended background and text treatment.
- Select the properties needed for this state: Visibility, Position, Appearance, and, where relevant, Smart Object layer comp selection.
- Choose OK to save the state.
- Repeat the process for Warm gift and Social layout, arranging the relevant layers before each capture.
The important point is to arrange the intended state before creating its comp. The recorded names become the review and export identifiers, so consistent naming matters more than the order in which the comps appear in the panel.
Review and Update by Comp Name
During review, select and apply the comp by its exact name rather than assuming that a particular row or screen position corresponds to a campaign version. Confirm that the approved product cutout, background, and text treatment all match the named state.
After an intentional design change, use Update Layer Comp for the affected named state. Then apply each remaining comp and check that its recorded layer arrangement still matches the intended version. An update should follow a deliberate change, not be used as a shortcut for experimenting across several comps.
The Shared-Layer Pitfall
All three comps reference the same product master. An edit to that shared product layer can therefore propagate across the comps, even if only one version is visible during the edit. This is the central reason to lock the approved master and make a versioned PSD copy before product retouching.
If the retouch is intended for every campaign version, apply and review all three states afterward. If it is not, restore the versioned copy rather than assuming that a comp will reconstruct the previous pixels.
Also avoid deleting, merging, or converting referenced layers without reviewing any warning. Such structural changes can leave a layer comp unable to restore its state fully.
Export and Verify the Actual Files
- Choose File > Export > Layer Comps To Files.
- Select the required format and destination.
- Choose Run to export the layer comps. The comp name is appended to each output filename.
- Open or inspect the exported files themselves. Check that each filename corresponds to the correct named state and that the product, background, and text treatment match the PSD preview.
Do not treat the PSD preview as export verification. For the handoff, retain the versioned source copy, the layered master with its three named comps, and the checked exports so the client can review actual files rather than infer variants from the design document.
Continue with the next task
- Product photography and editing resources
- Fashion and model workflow resources
- Create a filename-based client contact sheet
Sources and scope
Documentation checked November 7, 2026. Rewarx is the publisher. Covers are MiniMax-generated editorial concepts. Worked examples and diagrams are instructional illustrations, not measured products, tool output comparisons or customer results. Procedures are documentation-based; no live shopping transaction or hands-on software benchmark is claimed.