Photoshop Contact Sheets for Client Selects: Keep Filenames and Originals
Updated November 6, 2026
Use a Photoshop contact sheet as a versioned selection proof, not as the image library. Keep the original and full-resolution files separate, move the wrong-label frame into a private archive, and ask the client to respond with the selected filename, requested edit, and approved use. Positions are not stable: regenerating a sheet can rearrange the thumbnails.
Prepare a clean client-select folder
Create one flat working folder containing the five frames that the client should see:
SKU42_front_v01.jpgSKU42_scene_option_a_v01.jpgSKU42_scene_option_b_v01.jpgSKU42_detail_v01.jpgSKU42_approvedfinal_v01.jpg
Move SKU42_rejected_wronglabel_v01.jpg out of this folder and into a separate private archive. Although it remains available internally, including it in the client proof could invite a client to approve the wrong label.
Keep full-resolution originals in another location, with their filenames intact. A flat client-select folder also avoids ambiguity in Bridge: Adobe documents that only displayed or explicitly selected images participate, while subfolders are not included.
Use this six-frame map as an internal reference
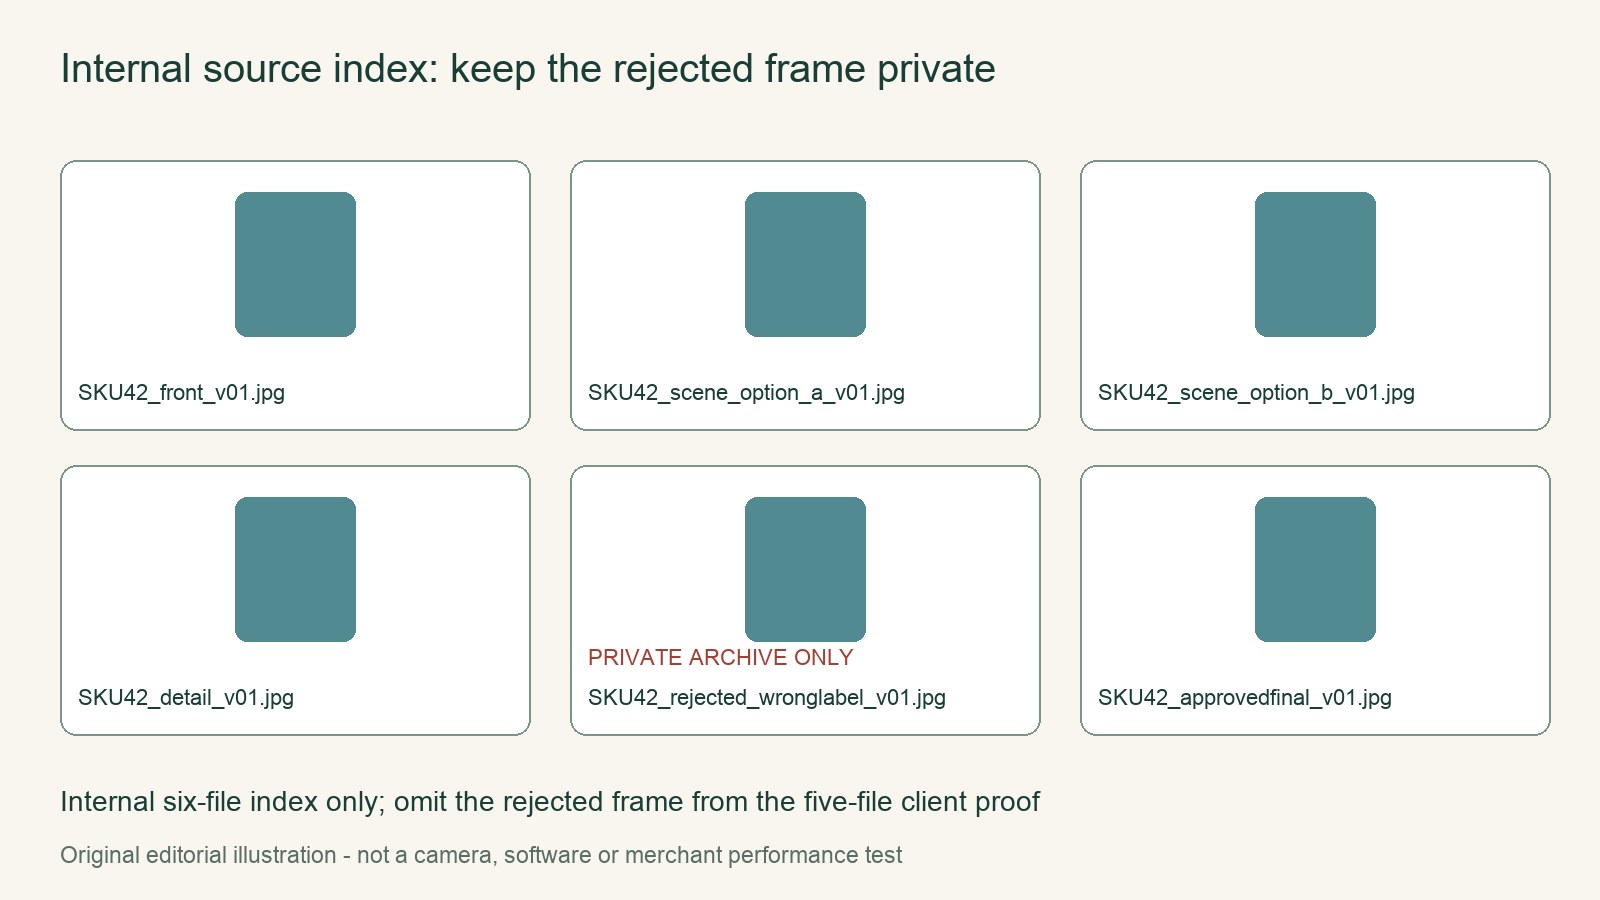
The native table below is an illustrative six-tile source map, not a Photoshop screenshot or a claimed output from Contact Sheet II. It shows how the filenames identify each role. The rejected tile is included here only to document the archive decision; it should not appear in the client-facing proof.
| SKU42_front_v01.jpg Source front |
SKU42_scene_option_a_v01.jpg Scene alternative A |
SKU42_scene_option_b_v01.jpg Scene alternative B |
| SKU42_detail_v01.jpg Detail frame |
SKU42_rejected_wronglabel_v01.jpg Private archive only; omit from client proof |
SKU42_approvedfinal_v01.jpg Approved final/reference |
This separation means the review began with six files but produces a five-frame client proof without deleting the rejected original.
Create the proof with readable filename captions
Adobe documents two routes to Contact Sheet II: File > Automate > Contact Sheet II in Photoshop and Tools > Photoshop > Contact Sheet II in Bridge. In Bridge, confirm exactly which images are displayed or explicitly selected, and do not rely on a subfolder to add more frames.
Enable Filename As Caption so each thumbnail is labeled with its source filename. Keep names short, consistent, and easy to distinguish at proof size. If a filename makes the caption difficult to read, correct the working-copy name and preserve a filename mapping rather than altering the original.
Also review Rotate For Best Fit, which can rotate thumbnails. A rotated tile could be mistaken for a requested framing change. Confirm the intended thumbnail orientation before issuing the proof, and resolve any rotation by checking the corresponding full-resolution source rather than interpreting the tile position or appearance as an edit instruction.
Ask for filename-based feedback
Tell the client not to answer “top right,” “middle,” or another position. A regenerated sheet can change those positions. Ask for a reply against the issued sheet ID, with these three fields:
- Filename: the exact source filename being selected or discussed.
- Requested edit: the specific change to make, or a clear statement that no edit is requested.
- Approved use: the intended use of that frame in the reviewed mockup.
For example, against sheet ID SKU42_select_r01, a usable response would be:
Filename:
SKU42_scene_option_b_v01.jpg
Requested edit: replace the scene background with solid light gray
Approved use: approved as the scene image for the catalog mockup
This format remains meaningful even if a later sheet places the same frame in a different tile.
Version the sheet and save masters separately
Give every issued proof a versioned sheet ID, such as SKU42_select_r01, then use SKU42_select_r02 for a regenerated version. Retain each issued sheet under its own ID so the client’s response can be tied to a specific proof rather than to an ambiguous collection of thumbnails.
Contact Sheet II creates a new document containing thumbnails; it is not a full-resolution master export. Preserve each full-resolution source separately under its original filename, and save edited results as separate, clearly versioned files. The proof explains what was selected, but it must not replace the source used to prepare the final deliverable.
Define the approval boundary and issue the proof
Proof approval confirms the selected frame and the edits requested for that proof. It is not product-accuracy approval, and it is not licensing consent. Product accuracy needs a separate confirmation, while permissions and licensing must be handled independently.
- Move the wrong-label file to the private archive and confirm the five-file client-select folder.
- Generate the sheet using the appropriate documented Photoshop or Bridge route.
- Check filename captions and thumbnail rotation at review size.
- Issue the proof with its versioned sheet ID and the three-field response format.
- Match returned decisions to filenames, make requested changes from the full-resolution sources, and save the resulting proof and production files separately.
Continue with the next task
Sources and scope
Documentation checked November 6, 2026. Rewarx is the publisher. Covers are MiniMax-generated editorial concepts, not measured products or outputs of the tool discussed. Native diagrams and worked examples are labeled illustrations. No customer conversion result, physical product test, live marketplace transaction or hands-on provider benchmark is claimed.