Clothing Measurement Photos: Show Pit-to-Pit Width and Clear Endpoints
Updated November 7, 2026
Direct answer: Make every measurement photo reproducible by showing the actual shirt flat and relaxed, the exact measurement endpoints, the tape’s zero and ending edge, and the unit. For width, state whether you measured edge-to-edge at the underarms or seam-to-seam. For length, show the shoulder seam at the collar to the bottom hem, with the tape running parallel to the placket.
1. Prepare the actual garment
Choose a flat surface and lay the shirt out as it naturally rests. Smooth obvious folds without pulling the fabric taut or stretching it away from its shape. The garment should remain relaxed throughout the process.
Before taking the measurement photos, decide exactly where each measurement begins and ends:
- Width: either edge-to-edge at the underarms or seam-to-seam, with the choice clearly labeled.
- Length: shoulder seam at the collar to the bottom hem, measured parallel to the placket.
Do not switch endpoints midway through the photo sequence. Clear labels are more useful than a measurement that looks precise but cannot be repeated.
2. Photograph the flat width
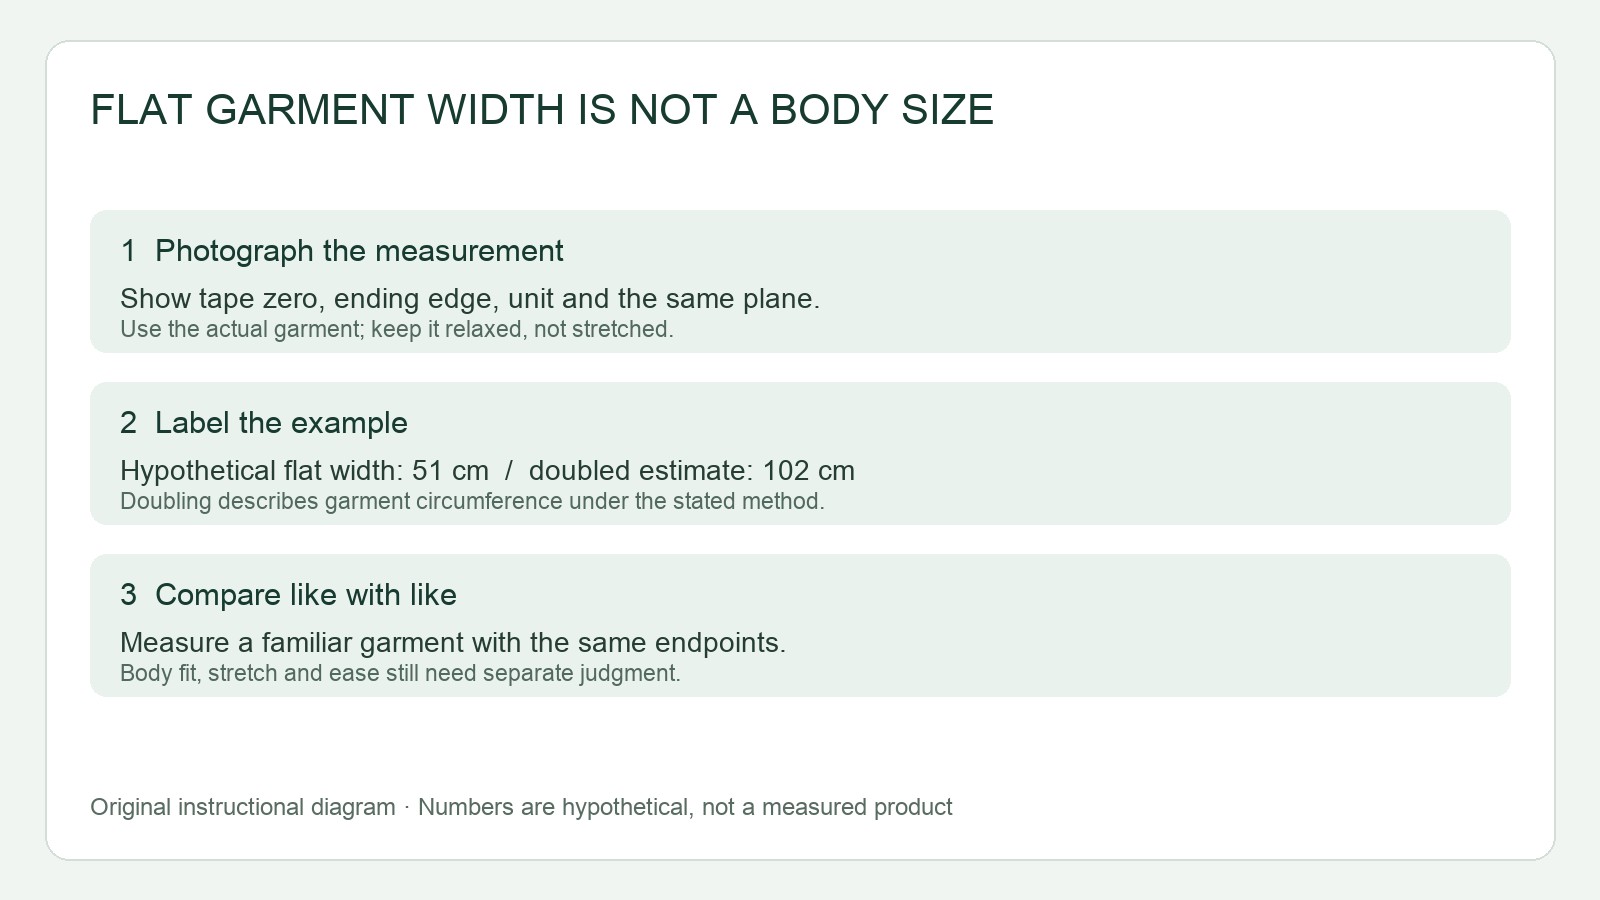
Place the tape across the shirt at the underarm level. Keep the tape flat against the garment without adding tension. The tape’s zero mark and the measurement’s ending edge should both be visible in the same flat plane as the shirt.
Position the camera directly above the garment so it is square to the tape. Include the unit in the frame, and make sure neither endpoint is cropped out. A wider overview can establish the full shirt, while a closer square frame should make the zero and ending edge easy to identify.
Label the image with the exact method. For example: “Flat width: edge-to-edge at underarms, relaxed garment, not stretched.” Avoid describing an edge-to-edge measurement as seam-to-seam.
3. Photograph the front length
For the length image, start at the shoulder seam where it meets the collar and finish at the bottom hem. Keep the tape parallel to the placket and lay it flat without stretching the shirt.
Again, show the zero and ending edge, keep the camera square, and include the unit. The result should be labeled: “Front length: shoulder seam at collar to bottom hem, parallel to placket.”
4. Worked example and buyer comparison
Suppose the actual shirt measures 51 cm flat from one underarm edge to the other. Under a doubled-width method, the editorial garment estimate would be:
51 cm × 2 = 102 cm estimated garment chest
This 102 cm figure is a calculated garment estimate, not a recommended wearer chest measurement and not a guaranteed fit outcome. The listing should retain both the raw flat width and the method used to derive the estimate.
Standard & Strange measures its flat chest edge-to-edge at the underarms rather than seam-to-seam because some seams sit forward, and it doubles the flat width for its garment chest figure. Its front length runs from the shoulder seam at the collar to the bottom hem parallel to the placket. These are retailer-specific conventions, not universal rules.
When comparing the shirt with a buyer’s favorite garment, use the same endpoints and unit on both. If the favorite listing uses seam-to-seam, annotate the difference rather than treating matching numbers as equivalent. If using Standard & Strange’s doubled-width method, identify it explicitly.
5. Add an editable listing description
Use a compact block that can be updated after measuring:
Measurements: Flat width: [value] cm, edge-to-edge at underarms. Front length: [value] cm, shoulder seam at collar to bottom hem parallel to placket.
Method: Actual garment measured flat and relaxed without stretching. Tape shown at zero and ending edge in the same plane.
Garment chest estimate: [flat width] cm × 2 = [estimate] cm under a doubled-width method. This is not a body measurement or guaranteed fit.
Unit: Centimeters.
Condition: [Describe the shirt’s visible condition and any items affecting measurement].
Approximation: Measurements are approximate flat-garment measurements. Endpoint conventions and garment condition may affect comparison.
A photo cannot recover the dimensions of an unseen AI-generated product. If a mockup or generated image includes a tape number, treat that number as an illustration only, never as a real measurement. For this secondhand shirt, all measurement claims should come from photographing and measuring the actual garment. Before publishing, check that every width and length photo shows the unit, both endpoints, the stated method, and a square view.
Continue with the next task
- Product photography and editing resources
- Fashion and model workflow resources
- Show black fabric texture honestly
Sources and scope
Documentation checked November 7, 2026. Rewarx is the publisher. Covers are MiniMax-generated editorial concepts. Worked examples and diagrams are instructional illustrations, not measured products, tool output comparisons or customer results. Procedures are documentation-based; no live shopping transaction or hands-on software benchmark is claimed.