10 ChatGPT Product Photo Prompts: Reference Edits and Clear Follow-Ups
Updated November 5, 2026
Use reference-led editing, not a generic scene list. OpenAI’s official image guide supports attaching references, identifying multiple roles, stating what should change and remain, and targeted follow-up edits. The ten prompts below use one hypothetical asset: a cobalt-blue ceramic mug with a loop handle and a fixed orange-and-cream rectangular artwork panel on its front. Each prompt names its source, limits the edit, and protects product details. They are copyable starting points, not tested performance claims; no actual ChatGPT generation was run for this article.
What These Prompts Control
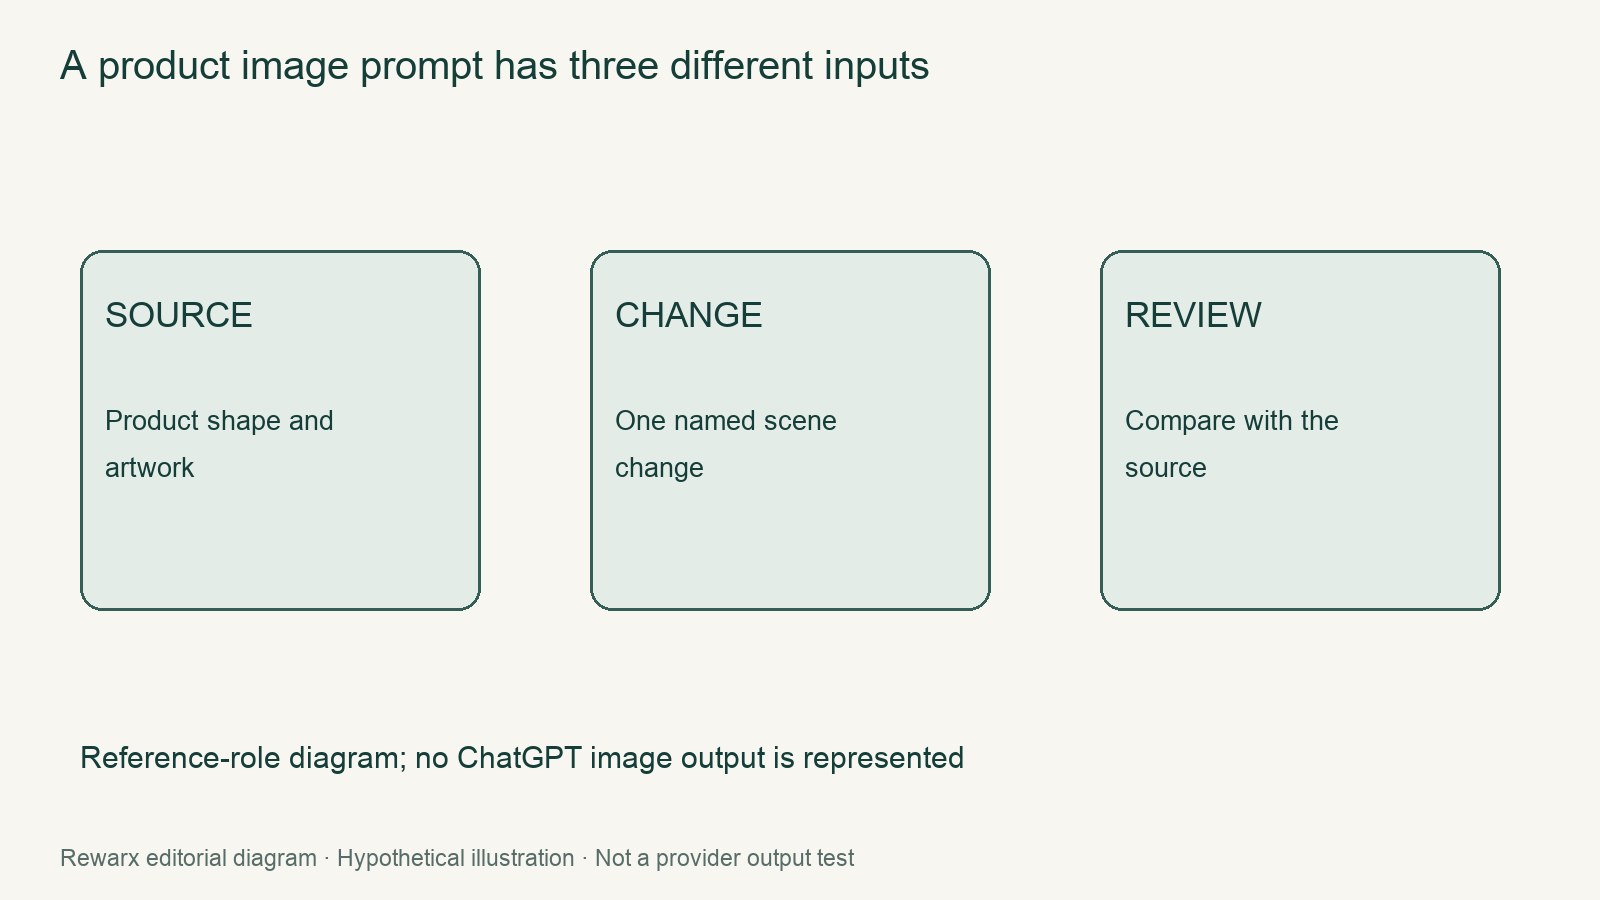
These prompts separate three jobs: creating a requested view, editing a supplied image, and inspecting a result. Reference images receive roles in words—Image 1 as the source product and Image 2 as a composition guide, for example. Preservation clauses protect the mug’s handle, artwork, shape, and color. Inspection prompts request a comparison only and explicitly forbid generation.
Ten Copyable Prompts
Replace the illustrative mug details when your real product differs. When references have different jobs, attach them together and identify each role in your message.
-
Prompt 1 — Scene edit
Using the attached mug photo as source truth, place the same mug on a tidy desk in a bright home office. Preserve its cobalt-blue body, loop handle, handle connection, and orange-and-cream rectangular artwork. Do not redraw, recolor, or add text to the artwork. -
Prompt 2 — Localized clutter removal
Edit the attached photo only. Remove the loose debris at the tabletop’s lower-right edge and the thin fiber in the upper-left background. Keep the mug, handle, artwork, camera angle, lighting, and every other background detail unchanged. -
Prompt 3 — Reference assignment
Image 1 is the source product; Image 2 is the composition reference. Match Image 2’s angle and framing, but keep Image 1’s mug exact: cobalt-blue body, loop handle, attachment points, and orange-and-cream rectangular artwork. Do not copy Image 2’s other objects. -
Prompt 4 — Light direction
Using the attached source photo, move the main light to the upper left, with a soft shadow falling lower right. Keep the mug’s geometry, cobalt-blue color, handle shape, and orange-and-cream artwork unchanged. Do not alter the camera angle or background layout. -
Prompt 5 — Portrait format padding
Place the attached mug photo on a portrait canvas, extending the background above and below without cropping or resizing the product. Keep the full mug and handle visible with even margins. Preserve the artwork, color, perspective, lighting, and surface details; add no props. -
Prompt 6 — Plain catalog background
Replace the background with a plain, even catalog backdrop. Keep the original mug at the same scale, position, angle, and focus. Preserve the cobalt-blue ceramic body, complete loop handle, orange-and-cream rectangular artwork, and visible surface details. Add no props, labels, or extra objects. -
Prompt 7 — Material close-up with a real reference
Image 1 is the real product reference; Image 2 is the requested detail crop. Create a close view of the ceramic surface, handle-to-body join, and artwork edge. Reproduce only details supported by Image 1. Do not invent chips, cracks, texture, or artwork elements. -
Prompt 8 — Consistent product series
Using the attached mug reference, create one image containing three consistent panels: front, three-quarter, and handle-detail views. Keep the same cobalt-blue ceramic mug, loop-handle geometry, orange-and-cream rectangular artwork on the same face, proportions, color, and apparent material across all panels. Use one backdrop and light direction. -
Prompt 9 — Comparison inspection only
The first attachment is the original source; the second is the candidate edit. Compare them. Do not generate, redraw, or modify anything. Inspect the mug’s silhouette, handle shape and attachment points, artwork shape and placement, color, proportions, and cropping. Return a concise pass-or-fix checklist with one visible issue per failed item. -
Prompt 10 — One-error correction follow-up
Revise the attached candidate using the attached original source to correct one issue only: restore the handle to the exact shape, width, and attachment points shown in the source. Leave the scene, lighting, mug body, orange-and-cream artwork, framing, and every other visible detail unchanged. Make no second correction.
The Five-Step ChatGPT Workflow
- Attach the source. If another image is relevant, identify each role in the message, such as “Image 1: source product; Image 2: composition reference.”
- State the edit and the invariants. Name the change while listing product details that must remain unchanged.
- Inspect the result. Compare it with the source, paying particular attention to the handle connection and artwork placement.
- Revise one error at a time. Identify the visible problem and repeat the details that must be preserved.
- Retain the original. Keep the source upload and each revision separately so versions remain comparable.
Choosing the Right Reference Setup
| Goal | Attach | Instruction focus | Acceptance check |
|---|---|---|---|
| Single edit | Source only | Changed area and fixed product facts | Handle, artwork, and cropping |
| Multi-reference edit | Source plus second image | Role assigned to each image | Source still governs product details |
| Product series | One product reference | Invariant mug details and one setup | All panels remain consistent |
| Inspection | Source plus candidate | Compare only; do not generate | Specific visible differences |
| Correction | Source plus latest output | One error; everything else unchanged | No unrelated alteration |
Practical Next Steps
- Create a short product truth sheet from the real source: body color, handle shape, artwork graphic and position, and visible proportions.
- Choose the narrowest prompt that matches the required change rather than combining several edits into one request.
- Use genuine references for close-ups, angles, materials, and series; label their roles rather than leaving their purpose implicit.
- Check the handle and known artwork before accepting a scene, background, padding, or lighting revision.
- Save each revision with a brief note describing its single intended change. That makes later comparisons and corrections easier to track.
Continue with the next task
- Product photography and editing resources
- Fashion and model workflow resources
- Choose a local repair method
- Control an editing revision
Sources and scope
Sources checked November 5, 2026. Rewarx is the publisher. New covers are MiniMax-generated concept illustrations, not outputs of the reviewed tool, measured specimens, or proof of product accuracy. Use the labeled body diagrams for numerical examples. Worked examples and diagrams are labeled editorial illustrations; no merchant conversion result or hands-on provider benchmark is claimed.